REVIEW · AMSTERDAM
Amsterdam Photography Masterclass – Private Photography Lesson
Book on Viator →Operated by Aperture Tours · Bookable on Viator
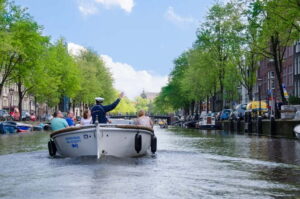
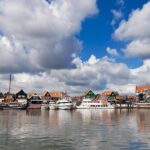
Amsterdam can be a lot to photograph.
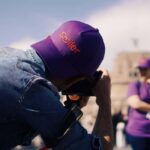
This private class turns the city’s prettiest spots into teachable moments, with a professional photographer coaching you as you walk. I really like that it stays small and personal (up to 4 people), so you get hands-on help instead of generic tips.
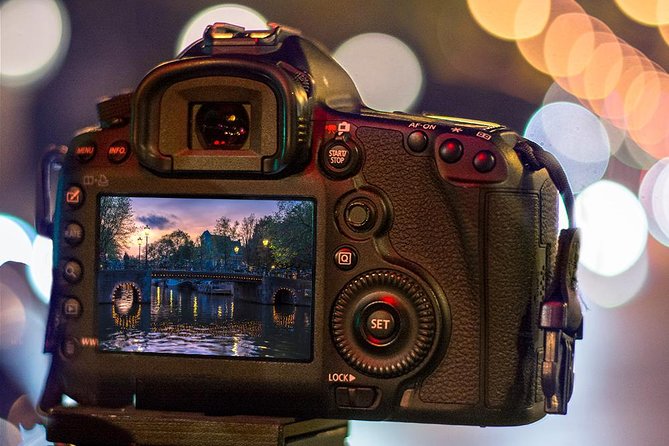
One thing to consider: you’re expected to bring your own DSLR camera, and there’s no tripod included (though one can be available if you request it).
In This Review
- Key things to know before you go
- Why a private photo lesson beats solo wandering in Amsterdam
- Where you start at Leidsekade 97, and what to bring
- How a 3-hour lesson actually teaches you to shoot
- Amsterdam’s nine-stop photo route: what to shoot and why each place matters
- Stop 1: Amsterdams Lieverdje statue
- Stop 2: Voetboogstraat and the Beijbhof de Voetboogsteeg
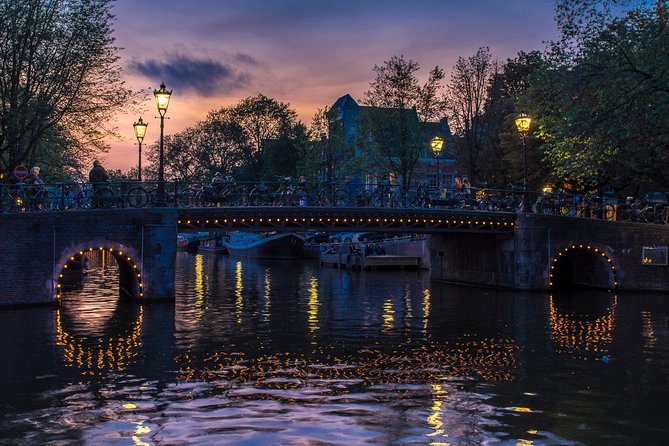
- Stop 3: Leidsegracht bridges
- Stop 4: Rijksmuseum and grounds
- Stop 5: Magere Brug over the Amstel
- Stop 6: Nieuwe Kerk
- Stop 7: Blauwbrug
- Stop 8: Nieuwmarkt
- Stop 9: Huis Bartolotti (Museumhuis Bartolotti)
- Daytime vs evening: picking the mood that matches your camera skills
- What makes the guides work: tailored instruction, not generic tips
- Price and value: is $204.24 per person worth it?
- Who this is best for, and who should skip it
- Should you book Amsterdam Photography Masterclass?
- FAQ
- Is this a private tour or a group tour?
- How long is the Amsterdam Photography Masterclass?
- Where do we meet, and does it end nearby?
- Do I need to bring my own camera?
- Is a tripod provided?
- Can I cancel and get a full refund?
- Will the tour run in bad weather?
Key things to know before you go
- Private, small-group format: only your booking, up to 4 people, with tailored instruction
- You bring the camera: DSLR required; tripod may be available on request
- A walk with practice: multiple short shooting sessions at iconic places, led by a pro
- Day or evening options: choose the light that matches the photos you want
- All-weather schedule: you’ll go in rain too, so dress for the day
- Free-to-shoot stops listed: the planned locations are marked as ticket free for this experience
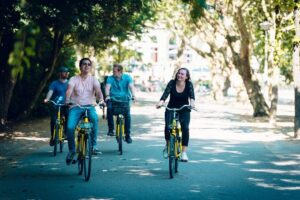
Why a private photo lesson beats solo wandering in Amsterdam
Amsterdam is gorgeous on its own. But your photos usually improve faster when someone helps you translate what you see into what your camera can actually capture. That’s the core value here: you’re not just visiting landmarks. You’re learning how to shoot them—while you’re standing right in front of them.
I like that the lesson is structured in short, focused shooting bursts, rather than one long lecture. It keeps you moving, but it also gives you time to try a setting, look at the result, and correct course with real feedback. If you care about getting usable photos (not just souvenirs), that matters.
The other big win is the private attention. With a maximum of 4 people, your guide can adjust pace and instruction to your questions. In the real world, that turns camera confusion into quick progress.
You can also read our reviews of more private tours in Amsterdam


Where you start at Leidsekade 97, and what to bring
You’ll meet at Leidsekade 97, 1017 PN Amsterdam, and you’ll return there at the end. The location is near public transportation, which is handy because you’re moving through central photo spots afterward.
Bring:
- Your own DSLR camera
- Anything you need for comfort in walking weather (Amsterdam weather loves to change its mind)
Tripod note: a tripod is not included as standard, but it can be available if you request one. If you’re thinking about longer exposures for evening shots, it’s worth planning ahead and asking early.
Also, you’ll get a mobile ticket and confirmation around the time you book. The tour runs in all weather conditions, so pack layers and waterproof basics if you have them.
How a 3-hour lesson actually teaches you to shoot

This isn’t a passively guided stroll. It’s a guided practice walk. The professional photographer guide helps you connect camera settings to the kind of photo you’re trying to make—then you put that lesson into action immediately at the next stop.
The format is simple:
- You arrive at a spot
- You shoot (often with a short instruction moment first)
- You adjust what you’re doing based on feedback
- You move on to the next photo problem
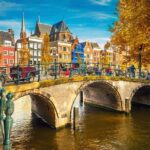
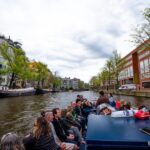
That structure is a big deal in Amsterdam, because the city’s photo opportunities change fast—canals, bridges, brick facades, church stone, and those classic streets that look like postcard material but can be tricky to frame without looking cluttered.
You also get options for the overall mood. The experience offers daytime and evening versions, so you can pick the light that fits your style. Day tends to be easier for learning basics. Evening gives you more atmosphere, and it can force you to master low-light settings quickly—exactly the kind of challenge that makes lessons stick.
Amsterdam’s nine-stop photo route: what to shoot and why each place matters
Each location is given a focused amount of time, so you’ll learn to work fast without feeling rushed out of the lesson. Expect short sessions that let you practice framing, exposure choices, and composition while the guide corrects issues right away.
Stop 1: Amsterdams Lieverdje statue
This spot is great for learning how to photograph a subject with personality. A small landmark like this helps you practice:
- filling the frame with detail
- controlling background clutter
- getting the angle right so the photo tells a story, not just shows a thing
Quick caution: like many city corners, you may have passersby in the frame. That’s not a failure—it’s a chance to practice timing and sequencing.
You can also read our reviews of more photography tours in Amsterdam


Stop 2: Voetboogstraat and the Beijbhof de Voetboogsteeg
When you move from a single subject to streets and passages, your challenge becomes composition. This area is useful for:
- leading lines through narrow streets
- shooting architecture without making the frame feel warped
- finding a “best view” angle where the alley depth works
The drawback here is that street photography can get busy. If crowds are heavy, your guide can help you choose angles where the scene still looks intentional.
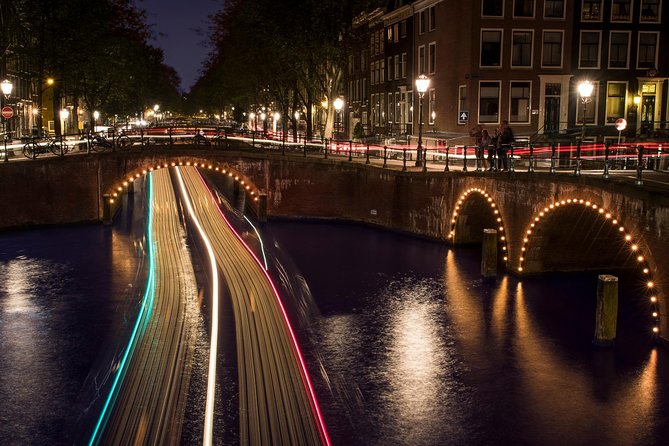
Stop 3: Leidsegracht bridges
Canal bridges are one of Amsterdam’s easiest ways to learn leading lines and symmetry-ish compositions. You’ll be able to focus on:
- bridge lines and how they guide the eye
- water reflections and how to avoid blown highlights
- framing bridges with the right amount of canal context
If you go in the evening, reflections can get strong fast. That’s fun, but it can also make exposure tricky—perfect for learning how to balance brightness.
Stop 4: Rijksmuseum and grounds
Big landmarks can be tough: you either zoom out too far and lose detail, or you zoom in too close and cut off the story. This stop helps you practice photographing a major building while keeping the image readable.
What you can aim for:
- clean exterior shots with strong lines
- framing the building plus nearby ground elements
- using vantage points to avoid distracting clutter
Even if the plan lists this as ticket free for the experience, you’ll still get a lot out of focusing on the exterior and grounds area instead of treating it like a museum visit.
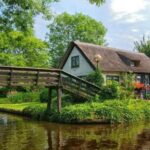
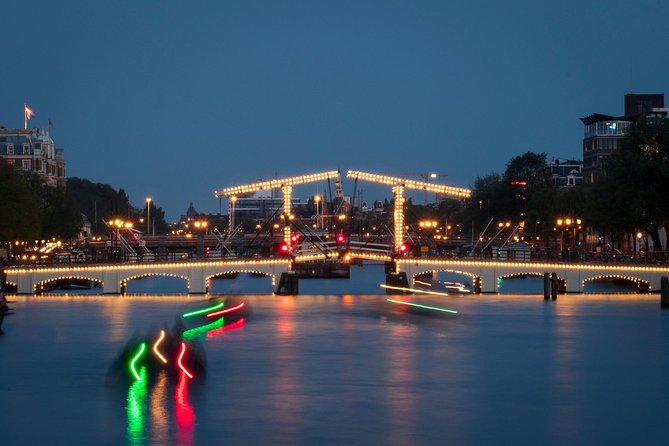
Stop 5: Magere Brug over the Amstel
This is the classic “thin bridge” photo moment. It’s excellent for learning how to photograph shape and reflection together. You’ll be working on:
- crisp edges of the bridge against softer water tones
- reflections that can turn into visual texture
- balancing brightness if the sky is changing
Practical note: bridge areas can be popular. You may need to shoot several attempts to get the cleaner frame you want.
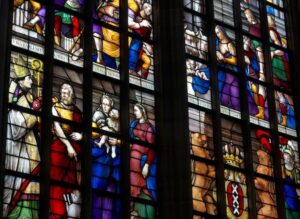
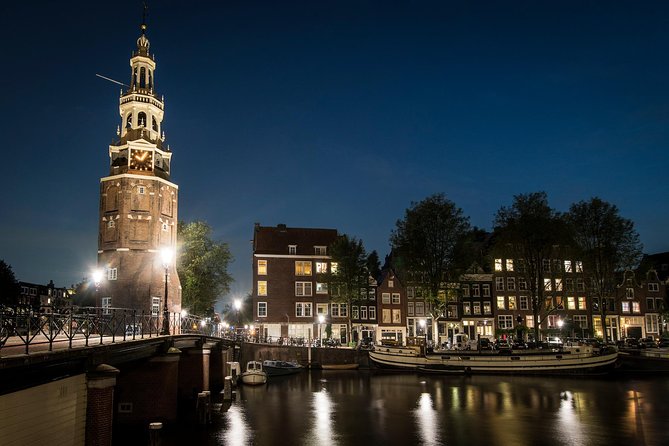
Stop 6: Nieuwe Kerk
Church architecture gives you a new set of composition rules: vertical lines, facade details, and the feeling of scale. This stop is good for:
- keeping lines straight and not over-tilted
- focusing on facade elements instead of random background bits
- practicing detail shots that still feel grounded in the setting
If light is flat (common on overcast days), your guide may steer you toward angles that add contrast.
Stop 7: Blauwbrug
A color-based bridge stop is great for teaching your camera to handle strong tones without letting one color take over the entire photo. You’ll practice:
- making color the subject without oversaturating
- using surrounding tones to frame the bridge
- getting the water and bridge relationship right
If it’s windy or rainy, water texture changes quickly, so plan for more than one shot.
Stop 8: Nieuwmarkt
Squares are a different photographic problem than buildings and canals. Here you’re more likely to work on street-level scenes:
- framing the space so it feels real, not empty
- including enough context to show where you are
- shooting with people in mind (or working around them)
The best photos in a square often come from simple composition choices: where you place the horizon, and what you choose to keep sharp.
Stop 9: Huis Bartolotti (Museumhuis Bartolotti)
This final stop is all about architectural personality. Ornate facades reward patience and careful framing. You’ll practice:
- photographing detail without losing the bigger shape
- choosing a perspective that shows the building’s style
- using symmetry or repeated elements if they appear naturally
Quick drawback: if you’re aiming for ultra-detail shots, time can feel short. The upside is that you’ll learn to prioritize what to capture in the moments you have.
Daytime vs evening: picking the mood that matches your camera skills
The experience offers both daytime and evening options, which is helpful because different people need different training conditions.
Daytime is usually best if:
- you’re still figuring out basic camera settings
- you want clearer previews while you practice
- you’d rather focus on framing and composition first
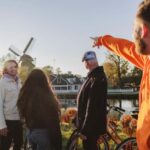
Evening is where you learn faster if you want atmospheric city photos. One useful detail from real instruction: Renzo is known for night photography coaching, and he’s helped people who hadn’t been successful with night shots before. If you want that kind of guidance, evenings are a smart choice—and you should be ready to test settings and shoot more than once.
No matter the time of day, the goal is the same: you leave with photos you can actually use and understand why they turned out that way.
What makes the guides work: tailored instruction, not generic tips
The strongest part of this kind of private lesson is instruction that matches your intent. You don’t just get camera lectures. You get pointers aimed at what you’re trying to photograph.
In particular:
- Some guides focus heavily on night shooting. Renzo’s approach stands out for helping you learn how to get night photos that look good, even when your first attempts fail.
- Other guides lean into personalization. William, for example, is described as tailoring the tour to the type of pictures you want and giving camera-setting pointers that help you get stronger shots quickly.
That tailored style matters because Amsterdam changes every 20 steps. If your guide knows what you want—bridges, architecture, street angles, night reflections—they can guide you toward photos that fit your eye, not just the standard checklist.
And yes, you’ll get patience. People often come in thinking their camera can do more than they can. The lesson is designed to bridge that gap without making you feel dumb for not knowing the controls yet.
Price and value: is $204.24 per person worth it?
At $204.24 per person for about 3 hours, this isn’t a “cheaper than a museum ticket” kind of experience. But it can be good value if you treat it like a workshop.
Here’s why:
- You get a local guide plus a professional photographer guide
- It’s a private experience, capped at 4 people
- You’re practicing at multiple iconic photo locations instead of learning in a classroom
If you’re the type who wants to return home with photos that look like you meant them to, the instruction can easily pay off. If you’re only chasing casual snapshots and don’t care about learning settings, you might be happier with a self-guided walk and a good photography app. This lesson is for people who want the camera skills, not just the scenery.
Timing helps too. The experience is typically booked around a month ahead, so if you want a specific date (especially for evening), plan earlier.
Who this is best for, and who should skip it
This experience fits well if you:
- want hands-on coaching on camera settings
- like short, practical practice sessions over long lectures
- are aiming for specific types of photos (architecture, canals, bridges, night scenes)
It might be less ideal if you:
- don’t want to bring a camera or don’t plan to work on settings
- prefer long, unstructured wandering where nobody nudges your composition choices
Because it’s private and limited to 4 people, it can be great for couples and small groups who want attention and flexibility without turning the city into a crowded photo queue.
Should you book Amsterdam Photography Masterclass?
I’d book it if you want real improvement in a short time. It’s structured, practical, and the guide attention level is exactly what makes photography lessons work in a busy city.
Skip it if you only want postcard images with zero focus on camera technique. Amsterdam will still give you plenty of beauty, but you’ll probably get more from a self-guided route plus time to experiment on your own.
If you’re on the fence, my advice is simple: choose the evening option if you want to tackle night photography (Renzo’s instruction style is a strong fit for that), and choose daytime if you want the easiest path to quick camera confidence.
FAQ
Is this a private tour or a group tour?
It’s a private experience. Only your group participates, with a maximum of 4 people per booking.
How long is the Amsterdam Photography Masterclass?
The class runs for about 3 hours.
Where do we meet, and does it end nearby?
You meet at Leidsekade 97, 1017 PN Amsterdam, and the activity ends back at the same meeting point.
Do I need to bring my own camera?
Yes. You should bring your own DSLR camera. Camera equipment isn’t listed as included.
Is a tripod provided?
A tripod is not included, but it may be available upon request.
Can I cancel and get a full refund?
Yes, you can cancel for a full refund if you cancel at least 24 hours before the experience starts.
Will the tour run in bad weather?
It operates in all weather conditions, so you should dress appropriately.