REVIEW · AMSTERDAM
Amsterdam: Professional Photoshoot at the Canals
Book on GetYourGuide →Operated by G&T Studios Amsterdam · Bookable on GetYourGuide
Amsterdam looks better when a pro frames it. This photoshoot turns the UNESCO canal belt into a guided photo walk, with a DSLR photographer leading you to classic angles and teaching small bits about Dutch life along the way. I especially like the chance to work with the Brouwersgracht setting, and the fact you’ll get your edited favorites delivered in 15 days.
One thing to plan for: Amsterdam weather matters. Light rain is handled with clear umbrellas, but heavy rain can shift the shoot to indoor spots, so the canal views you hoped for may not be identical to your mental postcard.
In This Review
- Key highlights worth your attention
- Canal Belt Magic With a Real Photographer, Not a Selfie Stick
- Where You Meet: Brouwersgracht 60 by De Belhamel
- The 30-Minute to 2-Hour Flow: How the Shoot Really Works
- Brouwersgracht Stops: Bridges, Cobblestones, and Canal-House Lines
- Damrak Avenue: The Famous Amsterdam Scene Moment
- Ending at Amsterdam Centraal Station: Finish With a Strong Backdrop
- Pick Your Photo Favorites: Preview JPGs to Retouched Keepers
- Mini vs Standard vs Deluxe: Which One Makes Sense for Your Group
- Price and What You’re Getting for It
- Weather Plan: Clear Umbrellas for Light Rain
- Language and the Human Side: Friendly Direction Matters
- What to Bring so the Shoot Doesn’t Stall
- Who Should Book This Photoshoot (and Who Might Skip)
- Should You Book Amsterdam’s Professional Canal Photoshoot?
- FAQ
- How long does the Amsterdam canal photoshoot take?
- Where do we meet the photographer?
- Where does the photoshoot take place?
- Can I request other locations besides the main route?
- What do I receive after the shoot?
- How many edited photos do I get with each package?
- How many preview photos do I get?
- When do I get the retouched photos?
- What should I bring?
- What happens if it rains?
Key highlights worth your attention
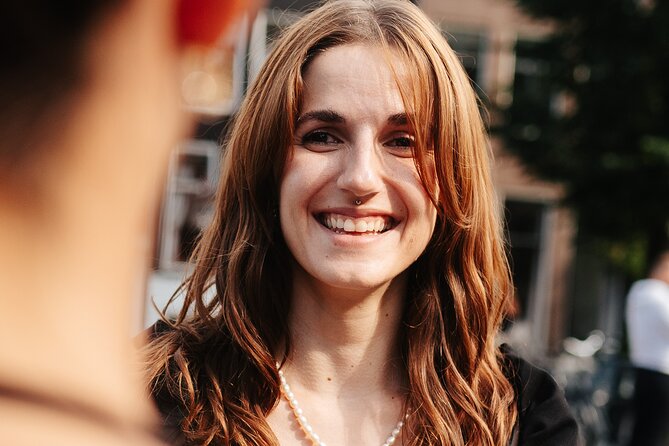
- Brouwersgracht photo spots with real canal-belt scenery (bridges, cobblestones, canal houses)
- Multiple stop options depending on how long you book, from canal streets to Damrak and then Centraal
- Clear deliverables: you receive preview JPGs immediately as part of your package, then edited photos after you choose favorites
- Three shoot lengths that map to your group size and how many edited photos you want
- A guide who adjusts to you, including patient direction and friendly energy (I saw this praised directly in bookings featuring Grace)
Canal Belt Magic With a Real Photographer, Not a Selfie Stick
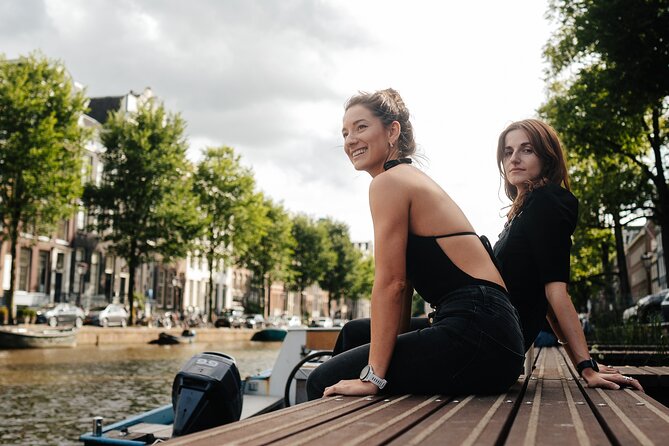
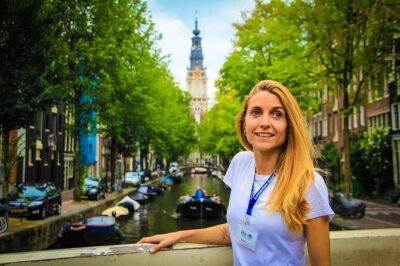
Amsterdam’s canals look great in photos. The trick is getting the angle, the timing, and the composition so you don’t end up with awkward shadows, weird reflections, or that classic half-blurred “we were moving” moment. This photoshoot is built to solve that. Instead of wandering and hoping, you get a professional on the ground steering you to the best spots along the canal belt—then you get photos you can actually keep.
What makes it feel “worth it” is the mix of artistry and practicality. You’re not just being snapped in front of scenery; you’re guided through streets that make sense to photograph. And you also learn little context as you walk—enough to make your visit feel more grounded in Dutch everyday life, not just background wallpaper.
You can also read our reviews of more photography tours in Amsterdam
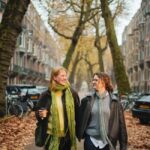
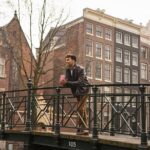
Where You Meet: Brouwersgracht 60 by De Belhamel
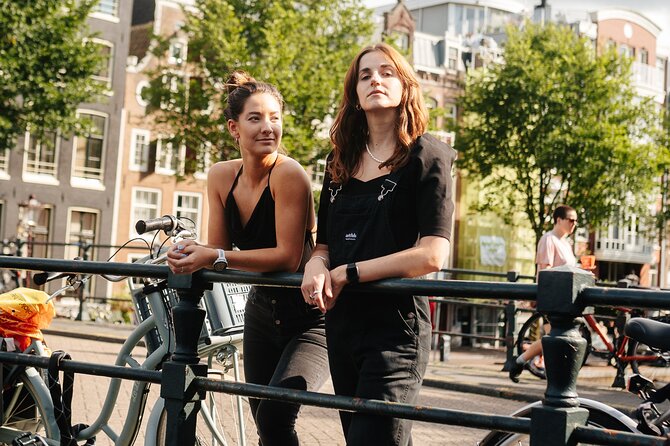
Your photographer meets you at the corner outside Restaurant De Belhamel, near Brouwersgracht 60. They’ll be carrying a DSLR camera, so it’s not a guessing game. If you’re coming from Amsterdam Centraal, it’s a short walk—useful if you’re staying central and want to avoid extra transit.
I like the simplicity of the meeting point. You start right where the canal look is strong, so your shoot doesn’t waste time getting into position. If you prefer calm starts, arrive a few minutes early and do a quick weather check. Even if you have umbrellas available for light rain, being prepared helps you move with less stress.
The 30-Minute to 2-Hour Flow: How the Shoot Really Works
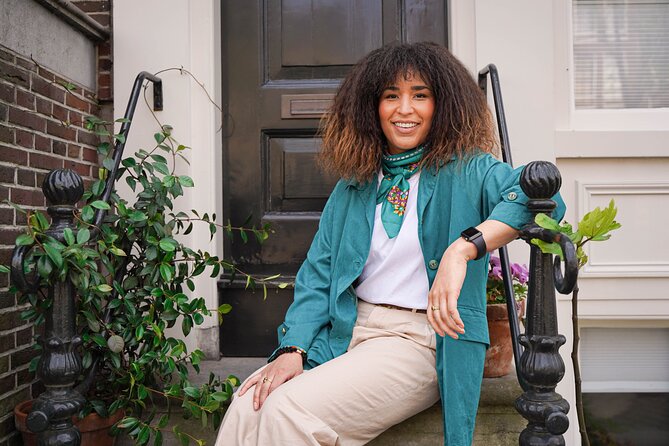
The shoot length shapes everything. Short sessions focus on canal-belt framing; longer ones add the more famous Amsterdam views and a walk toward the station.
- For shorter shoots (think the ~30-minute end), you’ll typically spend time on the canal with a focused set of spots.
- For longer sessions, you’ll move from Brouwersgracht toward Damrak Avenue, and you’ll end at Amsterdam Centraal Station.
Exact timing of each stop depends on your chosen duration, but the idea stays consistent: you get multiple photo stops along the canal, then—if your package allows—you step into the more iconic central scene.
If you want different locations than the planned route, you can request them in advance. That’s a big deal if you’re chasing a specific vibe—like a quieter canal stretch versus the busiest postcard streets.
Brouwersgracht Stops: Bridges, Cobblestones, and Canal-House Lines
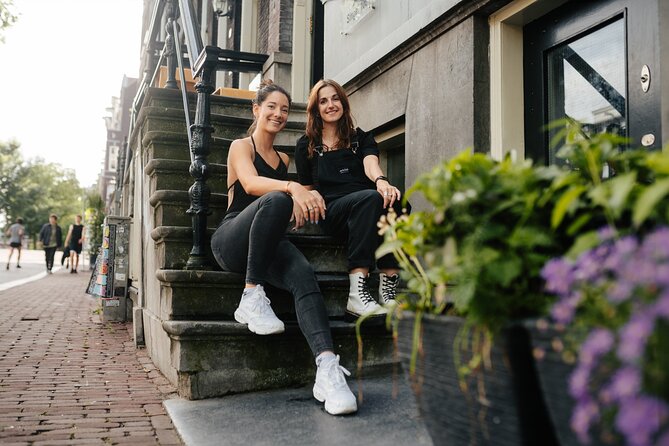
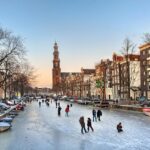
This is the heart of the experience. The route starts along the Brouwersgracht, one of Amsterdam’s most photogenic canals, and for many bookings you’ll hit several spots here rather than just one quick pause.
Here’s what makes these stops work for photos:
- Bridges create natural framing. You get leading lines without needing props.
- Cobblestones add texture. Even simple walking poses look more dynamic.
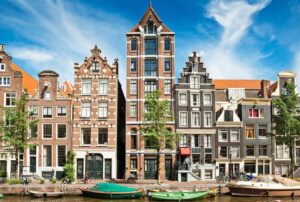
- Canal houses give depth. Your background won’t be flat or blurry.
- Water reflection is a bonus when the light cooperates.
Your photographer directs your position and movement so you don’t just stand there hoping. In one well-reviewed booking, the photographer was described as friendly and patient, and that matters because canal streets often feel crowded and tight—having someone help you find your spot keeps the photos from turning into stress.
Practical note: bring comfortable shoes. Amsterdam’s streets are charming, and also unforgiving. If you’re dealing with blister risk, your best photos will still happen, but you’ll enjoy them less.
Damrak Avenue: The Famous Amsterdam Scene Moment
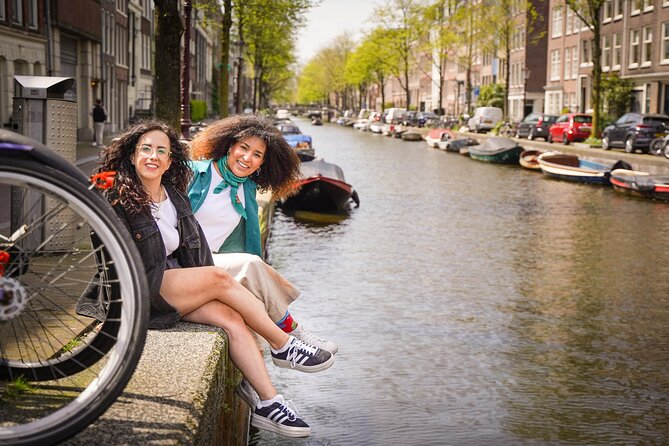
If you book longer (standard and deluxe durations), you also visit Damrak Avenue for a classic Amsterdam shot. Damrak is where you’ll likely find more bustle and more “this is the city center” energy.
Why this stop is valuable: it helps balance the whole set. Canal-belt shots tell a quieter, intimate Amsterdam story. Damrak adds contrast—more recognizable city atmosphere—so your photo set feels like a full visit instead of only one postcard chapter.
The challenge is practical: center streets can mean more foot traffic and more visual clutter. A pro helps you choose positions where you still get those clean lines. If you want the most calm, consider booking the shorter shoot focused on Brouwersgracht-only scenes.

Ending at Amsterdam Centraal Station: Finish With a Strong Backdrop
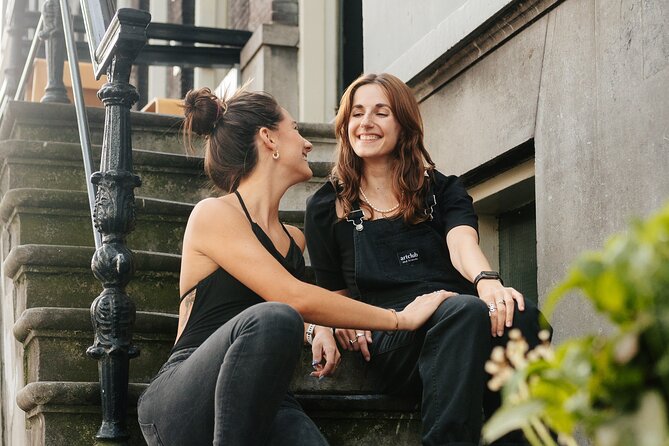
Your shoot ends at Amsterdam Centraal Station for the longer options, and it’s a smart finish. You’re moving from water and bridges into a dramatic public landmark that visually “locks in” the end of the walk.
Station-area photos tend to work well because:
- the architecture provides structure,
- open space makes posing easier,
- and your sequence ends with a location people immediately recognize as Amsterdam.
Even if you only care about canal photos, I’d still consider the longer option if you want one or two standout images that don’t look like every other canal album.
Pick Your Photo Favorites: Preview JPGs to Retouched Keepers
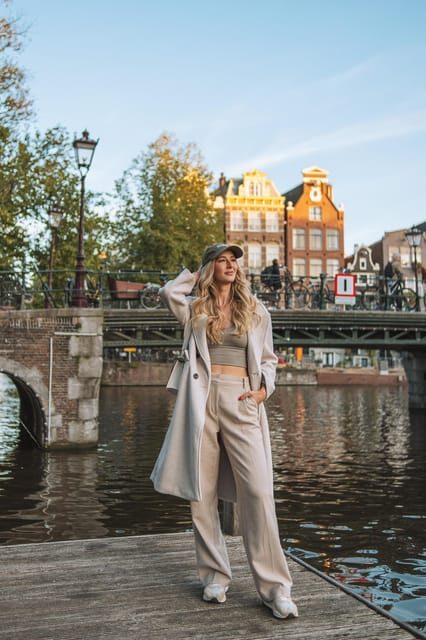
The package is designed around choice. You receive all your photos from the shoot in preview quality JPG format. Then you select your favorites for professional retouching.
This approach is practical for two reasons:
- You avoid paying for a huge number of edited images you’ll never print.
- You get control over what you actually keep—so your final set feels like you, not just “whatever looked okay.”
After you pick your favorites, you receive the retouched photos within 15 days. That timeline is important: it means you can keep your trip momentum while still getting quality results after you’re home.
In a world of instant filters, this feels old-school in a good way. You’re getting real photo work, not just a phone tweak.
Mini vs Standard vs Deluxe: Which One Makes Sense for Your Group
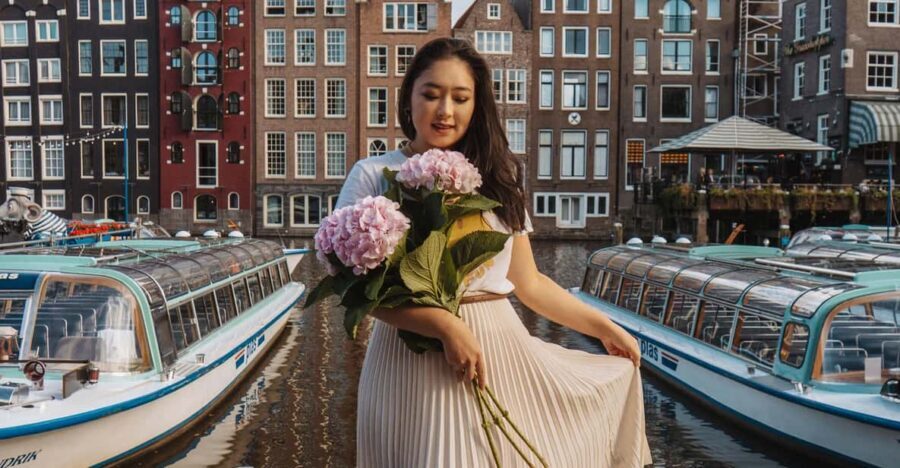
You choose from three photoshoot types, and each one changes both time and photo output. Here’s the key breakdown:
- Mini (30 minutes): 1–2 people, 100+ preview photos, 8 edited photos
- Standard (1 hour): 1–4 people, 250+ preview photos, 20 edited photos
- Deluxe (2 hours): 1–8 people, 500+ preview photos, 50 edited photos
Value lens: you’re paying for direction, locations, and editing labor—not just “being in front of a camera.” So the best choice depends on how many people you have and how many edited photos you truly want.
Mini is great if you’re solo or a couple and you mainly want canal images fast, without feeling like you scheduled your whole morning.
Standard often hits the sweet spot: enough time to include the additional central scene, plus a solid number of retouched photos.
Deluxe is built for families and groups who want coverage without rushing, especially if you want more edited variety—different outfits, different poses, different expressions.
If you’re the type who always forgets to take “the one good photo” while traveling, Standard or Deluxe is the safer bet.
Price and What You’re Getting for It
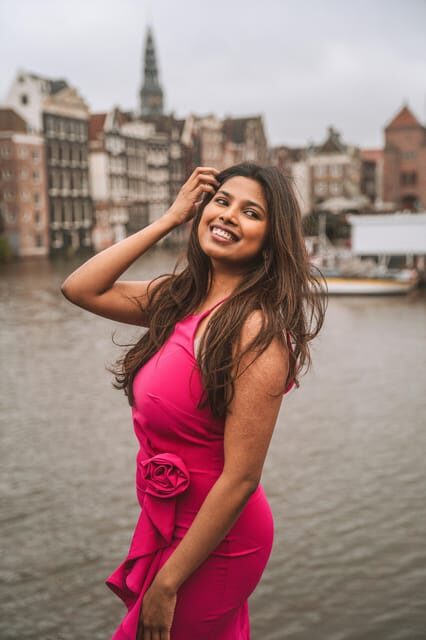
Pricing is listed as $212 per group up to 1, but the experience also clearly has tier options (mini, standard, deluxe) with different group sizes and photo totals. In other words, the real cost value comes from matching the tier to your group and your editing expectations.
A quick reality check: paying for a photoshoot can feel steep until you compare what you’d otherwise do—self-photo attempts with bad angles, extra time wandering, and then paying separately for editing or resorting to low-quality images. Here, you get a full bundle of preview JPGs plus professional retouching for a defined number of edited images depending on the tier.
If you care about having actual “save-worthy” images, the edited count matters more than the preview count. The preview set is your selection pool. The retouched images are your final memory.
Weather Plan: Clear Umbrellas for Light Rain
Weather can wreck photos, or it can become part of the look. This photoshoot has a plan:
- If there is light rain, you’ll get aesthetic clear umbrellas for the shoot.
- If there is heavy rain, you can shift to indoor locations, such as your apartment or hotel.
What I like here is the flexibility. You’re not just told to cancel or accept disappointment. That said, heavy rain can change the final look—indoor backdrops won’t replace canal reflections. So your best strategy is to check the forecast a day ahead (they ask you to check more than 24 hours in advance) and wear shoes that handle wet cobblestones.
Language and the Human Side: Friendly Direction Matters
The experience includes a live tour guide in Chinese, Dutch, or English. And that language support matters because good photos depend on communication: when to move, where to stand, how to pose naturally, and when to change direction to keep the shot clean.
The reviews also emphasize the human side. One booking praised Grace as incredible—friendly, knowledgeable, and patient. Another praised professional, attentive service and patience. That’s more than “nice to hear.” In crowded canal streets, patience can be the difference between a smooth shoot and constant frustration.
If you’re camera-shy, this style of guidance tends to help. You’re not expected to be a model. You’re given cues for how to stand and where to look so the photo looks natural.
What to Bring so the Shoot Doesn’t Stall
Two items are called out:
- Comfortable shoes (Amsterdam cobblestones are no joke)
- A charged smartphone (for whatever photo-selection or coordination needs come up during your experience)
I’d also recommend bringing a small outer layer if it’s windy, because canal areas can feel cooler than you expect. But stick to what’s explicitly required: shoes and a charged phone. Keep the rest minimal so you don’t lose time managing bags.
Who Should Book This Photoshoot (and Who Might Skip)
This is a strong fit if:
- you want a set of real, retouched photos without guessing angles,
- you’re visiting Amsterdam for a short time and want high-quality visuals,
- you’re traveling with family or friends and want everyone included,
- you prefer a structured walk over wandering and trying to time your own shots.
You might skip it if:
- you only want a few quick photos and don’t care about retouching,
- your schedule is extremely tight and you hate walking even short distances,
- you expect the shoot to function like a flexible sightseeing tour with no direction.
That said, even if you don’t love posing, the guided stop-and-walk format tends to feel like a purposeful city stroll.
Should You Book Amsterdam’s Professional Canal Photoshoot?
If you want Amsterdam photos that look like you planned them—and you want them edited with care—this is an easy yes. The package structure makes it simple: preview JPGs for selection, retouched favorites later, and a route that balances canal charm with a recognizable central finish.
Pick Mini if you’re a solo traveler or couple focused on the canal look and you don’t want a long commitment. Choose Standard if you want variety without turning it into a half-day. Go Deluxe if your group is larger or you want more edited images and more flexibility with poses and scenes.
One final decision tip: if your heart is set on canal scenery, keep an eye on the forecast. Light rain is handled well. Heavy rain may move you indoors. If you can align your shoot on a clearer day, your photo set will likely match the postcard version of Amsterdam.
FAQ
How long does the Amsterdam canal photoshoot take?
It lasts between 30 minutes and 2 hours, depending on the package you choose.
Where do we meet the photographer?
Meet your photographer at the corner outside of Restaurant De Belhamel, near Brouwersgracht 60.
Where does the photoshoot take place?
It focuses on the canal belt along Brouwersgracht, then includes Damrak Avenue for longer shoots, and it ends at Amsterdam Centraal Station.
Can I request other locations besides the main route?
Yes. You can request other locations in advance by contacting the provider.
What do I receive after the shoot?
You receive all unedited photos in preview quality (JPG format) and you can choose favorites for professional retouching.
How many edited photos do I get with each package?
Mini includes 8 edited photos, Standard includes 20 edited photos, and Deluxe includes 50 edited photos.
How many preview photos do I get?
Mini includes 100+ preview photos, Standard includes 250+ preview photos, and Deluxe includes 500+ preview photos.
When do I get the retouched photos?
You receive your retouched photos within 15 days after you select your favorites.
What should I bring?
Wear comfortable shoes and bring a charged smartphone.
What happens if it rains?
If it’s light rain, aesthetic clear umbrellas are provided. If it’s heavy rain, indoor locations can be used, such as your apartment or hotel.